 Research
I have lived in Brooklyn my whole life, so I know myself a good slice of pizza when I see one. With what seems like another pizzeria on every other corner, I have also tried many types and styles of the delicious and cheesy treat. Slices, squares, thin crust, deep dish, on a bagel, on an english muffin, with toppings or plain. I thought I had seen and eaten it all.
I was wrong. I must eat what few pizza-lovers have ever eaten before – the pizza cone.
Hypothesis
Pizza is already awesome. I predict that mixing things up with a new shape will only make pizza more awesome.
The Experiment
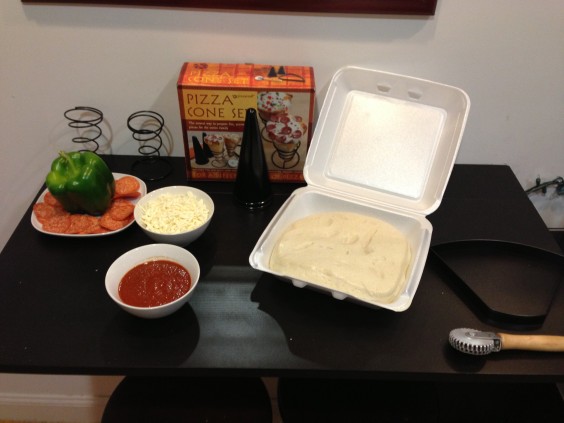
I started by assembling everything necessary to make my pizza cone:
- the Pizza Cone Kit
- Dough – The set comes with instructions to make you’re own. I bought mine from a local pizzeria for $4.
- Cheese
- Sauce
- Optional toppings
- Flour for working with the dough
- A rolling pin
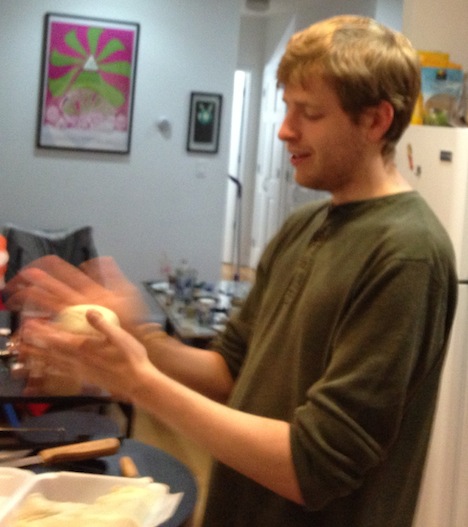
The pizza cone set comes with the tools necessary to cut and shape the dough so that you can roll it into a cone. This is my first time working with fresh dough and it feels so right. I think I was born to play a part in this evolution of the pizza. Just look at my hands go:
Next, I had the need to knead. As per the included instructions, I wanted a flat piece of dough measuring about an 1/8 of an inch all around. The dough should be wide enough to cut out two bell-shaped molds that would form two pizza cones.
 Once you have the initial pieces cut, you fold them over in half and crimp the edges sealed. You leave the bottoms unsealed so that you can later place them over the pizza cone form. I used the included crimper tool to finish the job.
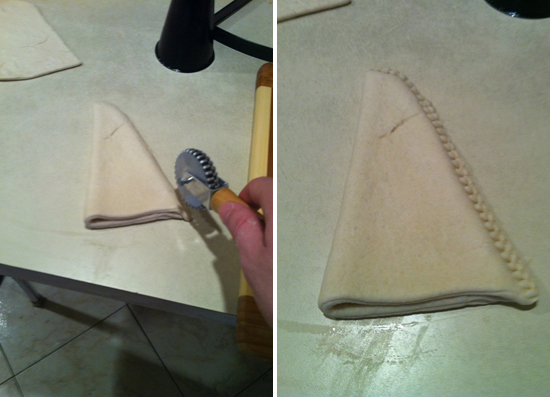
My expectations were rising as I prepared the dough to go into the oven for the first time. I carefully placed my creation onto the pizza cone form (which is made of no-stick materials).
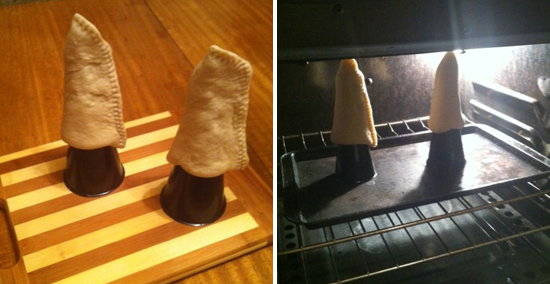 After 6-7 minutes of baking, the dough was starting to brown. I removed them from the oven and let them cool before removing them from the pizza cone forms and placing them upright in the pizza cone stands. I brought over the rest of the ingredients and got to work filling the cones with sauce, cheese, and other toppings (sliced pepperoni in the pictures). Like an artist finishing his masterpiece, I used my spoon to splash sauce along the inner walls of the cone. I sprinkled cheese throughout until it filled up completely. I cleverly hid pepperonis in any unused pockets of air.
After a few more minutes in the oven, right up until the insides start bubbling, I was able to meet my creation.
Conclusion
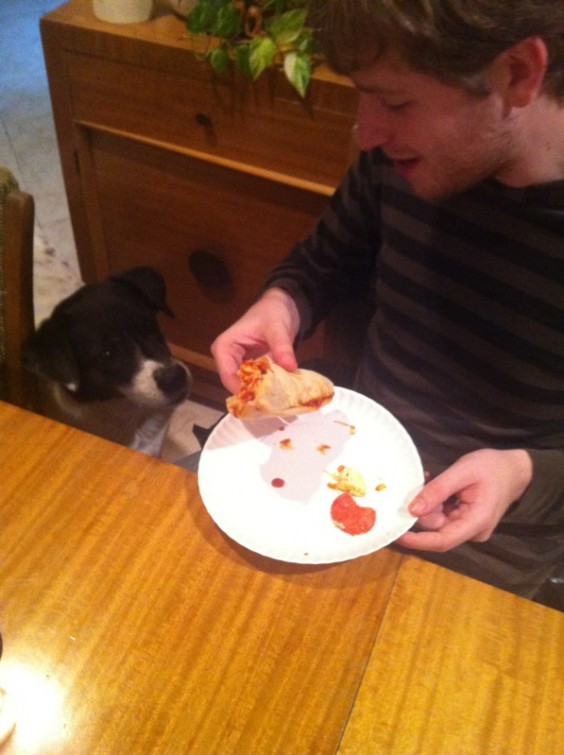
I was wary at first. However, I have confirmed that the deliciousness of pizza has no bounds. Pizza cones are a fun new way to eat pizza, especially during the upcoming winter, when ice cream cones are just not as practical. I approve.



4 Comments
Uhhh, I think that’s called a calzone.
Nope, calzone(s) are closed. It looks good, but I would want Dexters opinion too.
[…] Community Moderator; Abi Treut, Marketing Assistant; Rachel Goldstein, Inventory Planning Analyst; Jason Gomer, Purchasing […]
[…] (yay!), and I even found the step by step process on the very entertaining UncommonGoods blog (click here to take a look). And just to repeat what I said last week, UncommonGoods is a delicious website chock-full of […]