
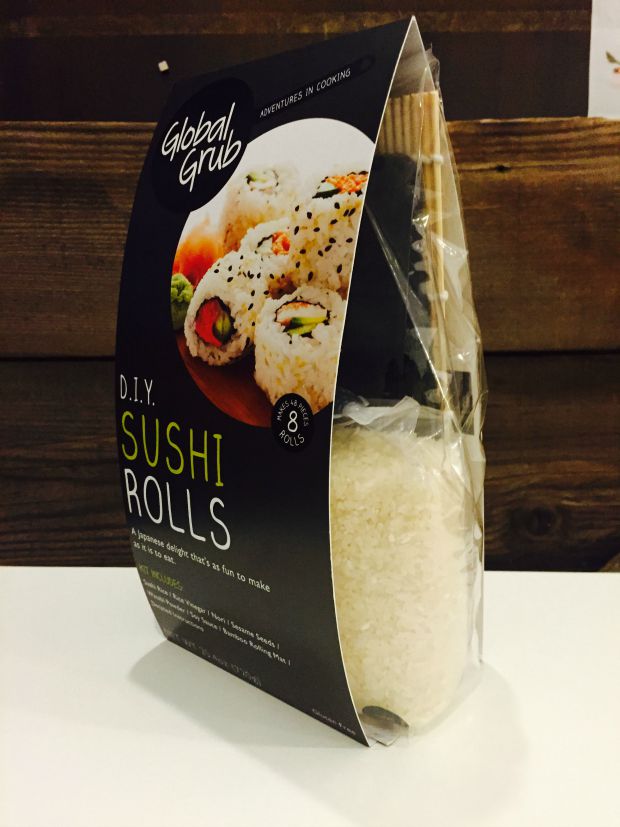
Product: Sushi Making Kit
Research:
I typically eat sushi 2 – 4 times a month and it has never crossed my mind to make it myself. Upon seeing this product, I suddenly became obsessed with wanting to create it for myself and others – I craved sushi almost every day. The kit looked like it would be easy and not a fussy/stressful meal to prepare, which made me more eager to try.
Hypothesis:
I don’t have much experience with sushi rolling, so I’m not expecting my rolls to come out presentable, but I believe the taste will be great. I’m not expecting to yield much out of this kit, but I will have fun preparing and tasting!
Experiment:
The directions on the kit are clear-cut. I made sure to shop for all my filling ingredients ahead of time, so I’d be set the day I wanted to try out the kit. I made NY rolls – which I’ve never knew existed until I started researching which type of sushi I wanted to make. For NY Rolls, I only needed apple, salmon, and avocado – common grocery store items. Everything else – including dipping options – is included in the kit.

The packaging for this kit doubles as a the recipe stand, which was very convenient for a first time sushi maker.
Step 1
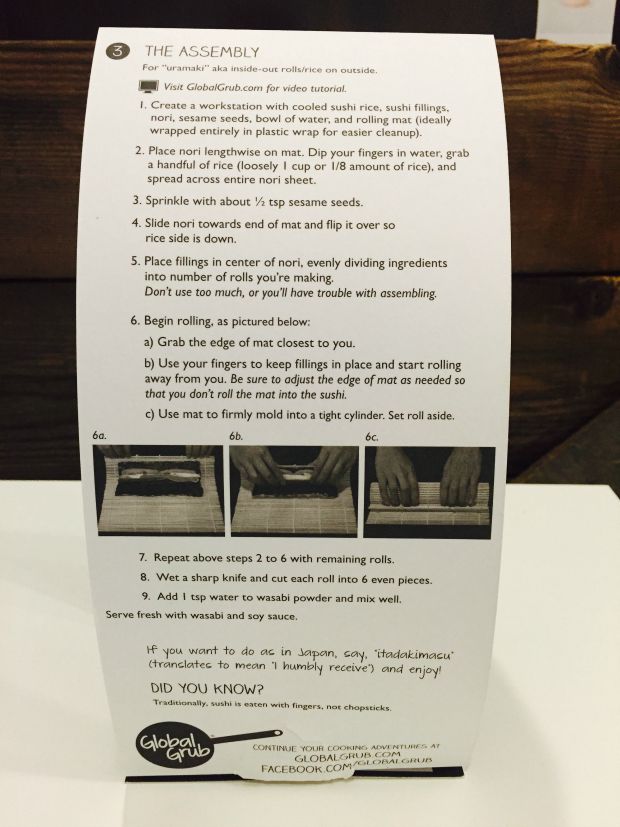
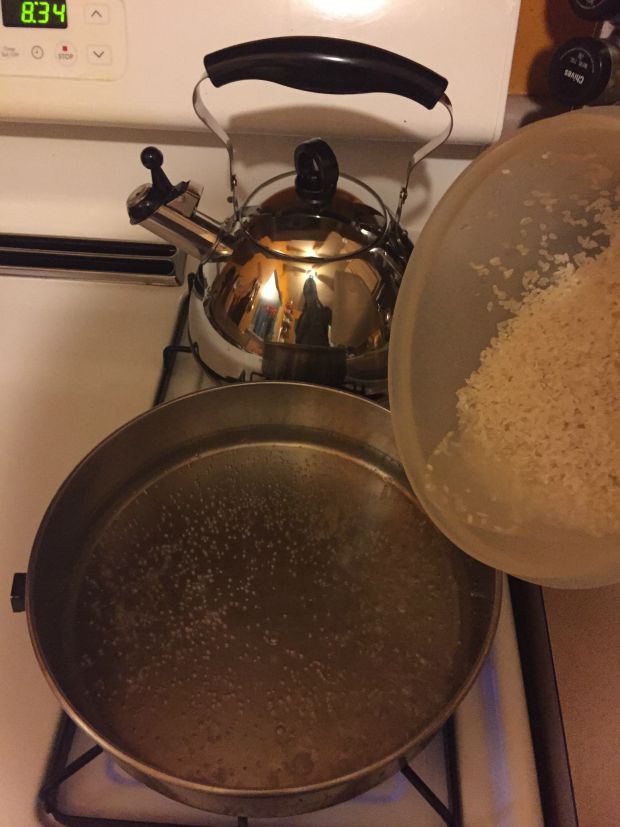
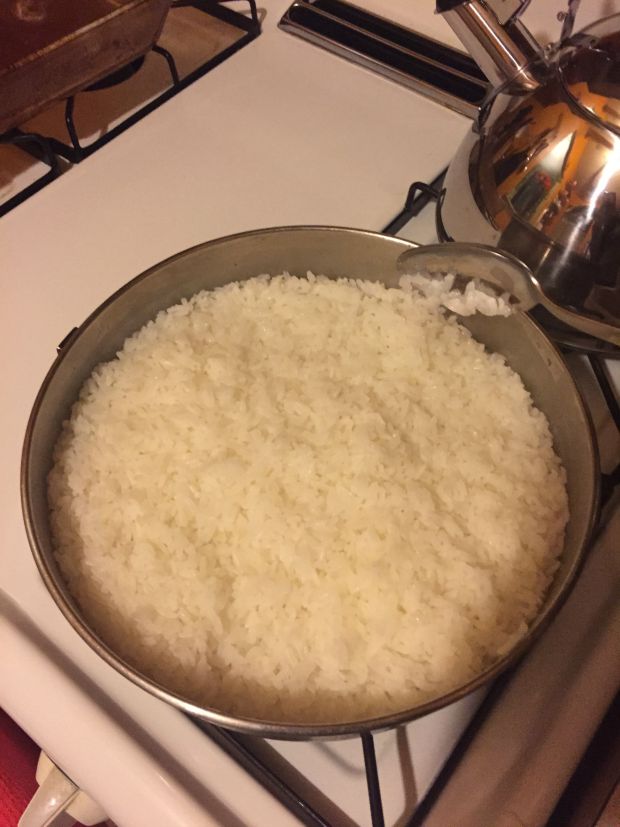
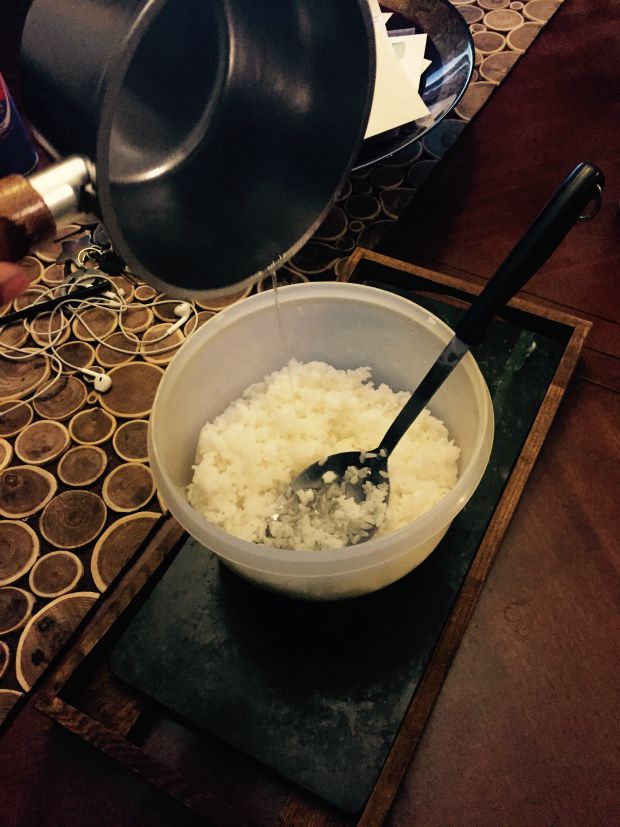
I rinsed and drained the included sushi rice 3 times as the directions stated, then added to boiling water. I let it boil for 25 minutes on low heat.
As the rice was cooking, I prepared my sushi fillings. Directions said it would be convenient to prepare them at that point, and I felt that it was.

Step 2
Once the rice was finished, I prepared the vinegar mixture (all new to me). I don’t own a microwave, as I slow cook while at home. The instructions noted to heat the sugar, salt, and vinegar (sugar and salt not included in kit) in the microwave, but I heated on the stove.
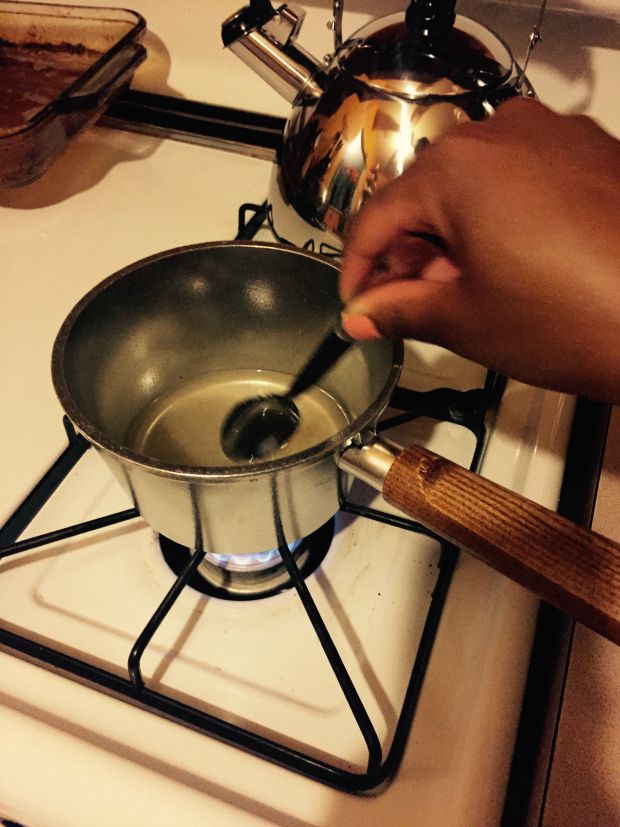
Once the mixture was dissolved – I poured over and mixed into the rice (which I already transferred over into a large bowl).
Step 3
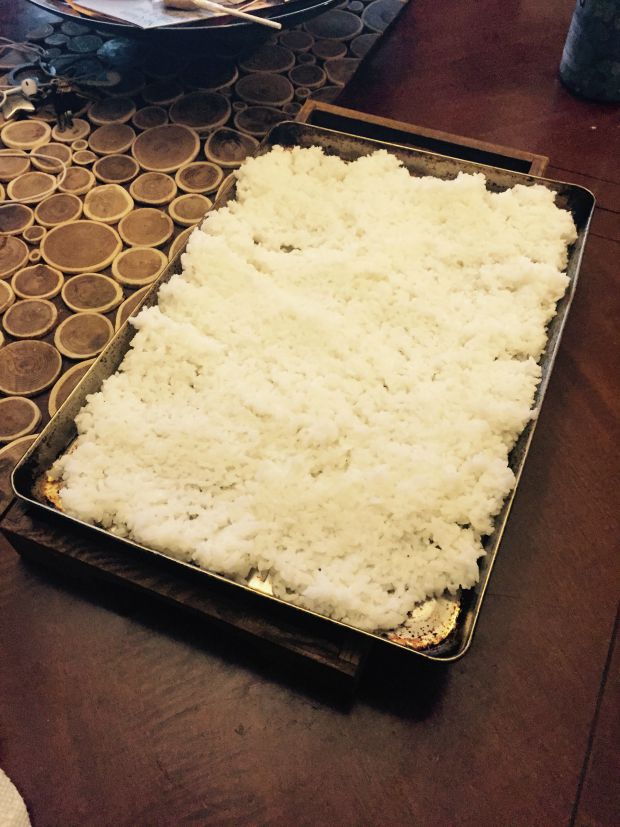
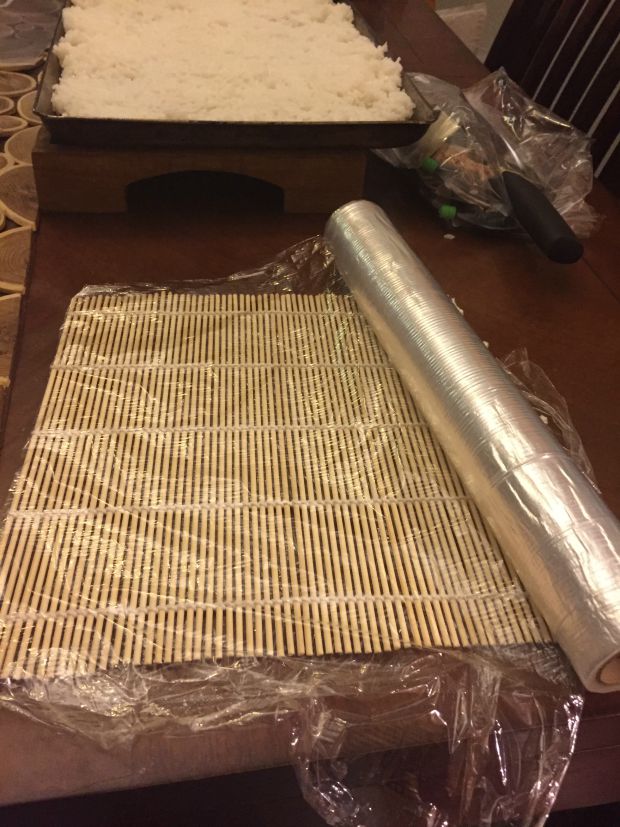
As you can see from my earlier pics, I started this late (around 8:30 pm) – so at this time, I was hungry and wanted to get things going. I spread the rice onto a baking sheet so the rice could cool faster (I didn’t mind creating more dish work for myself later).
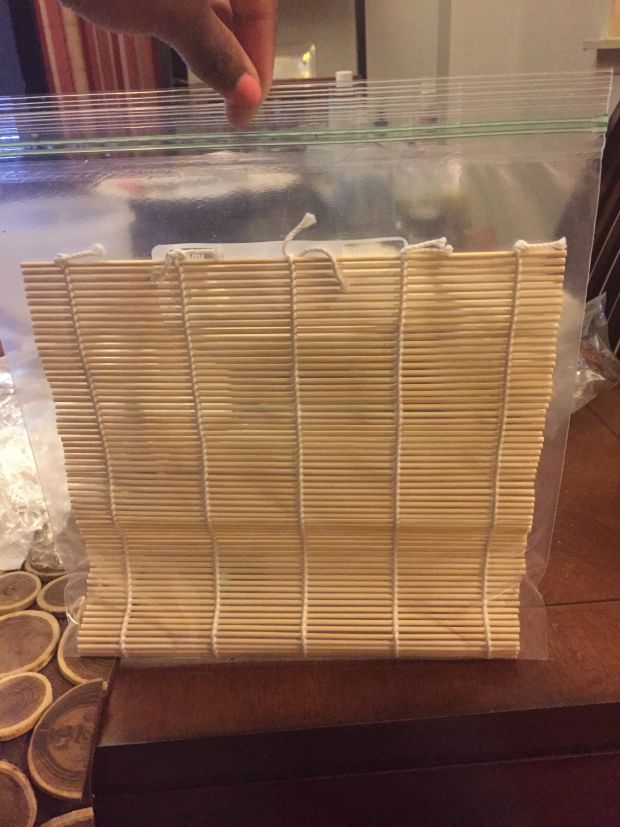
As it cooled, I wrapped my rolling mat in saran wrap for easier clean up.
Step 4
I started making the sushi with rice, sesame seeds and fillings.
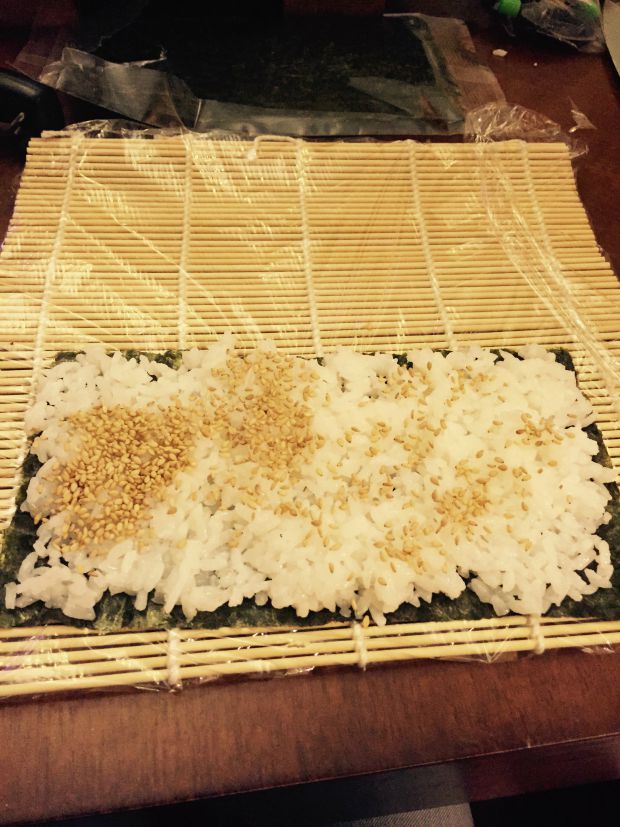
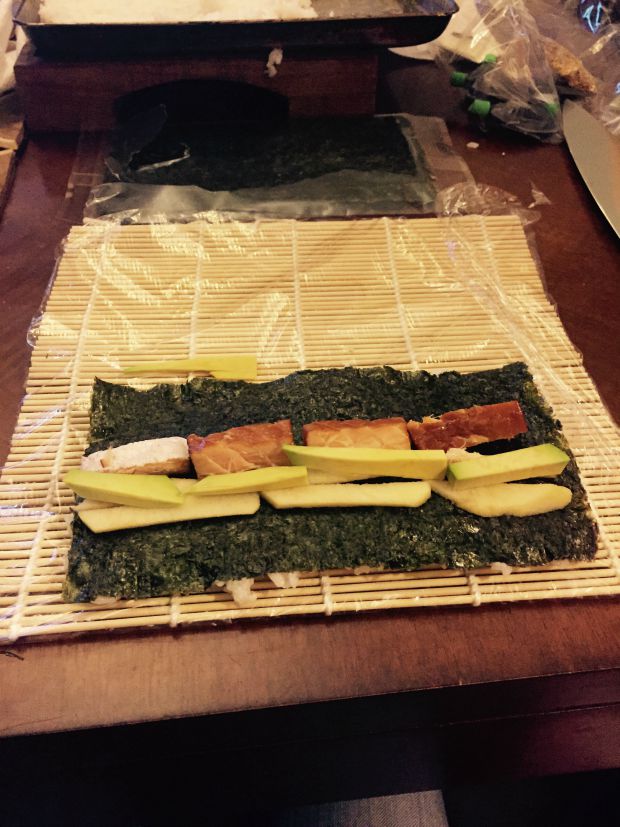
Directions were very straightforward here, but I was intimidated, worried that my rolls wouldn’t come out nicely.
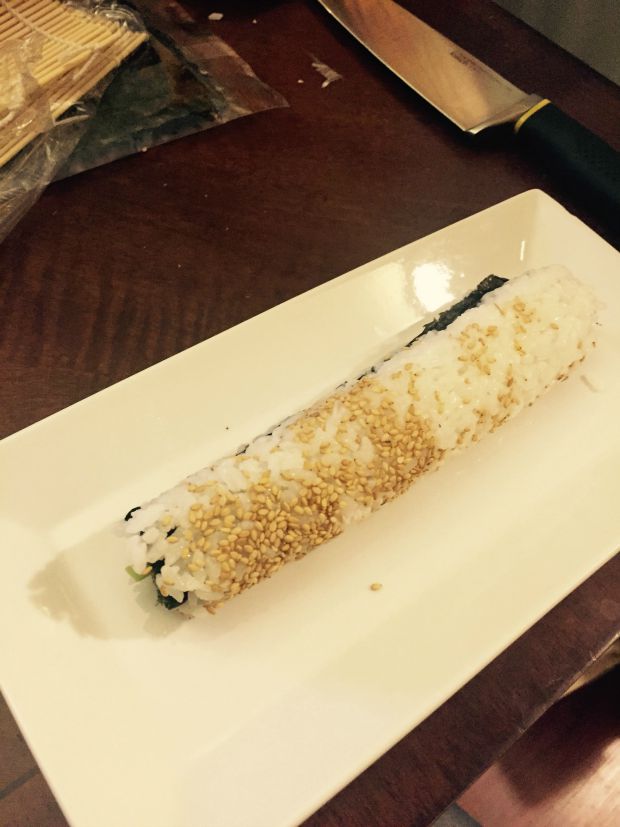
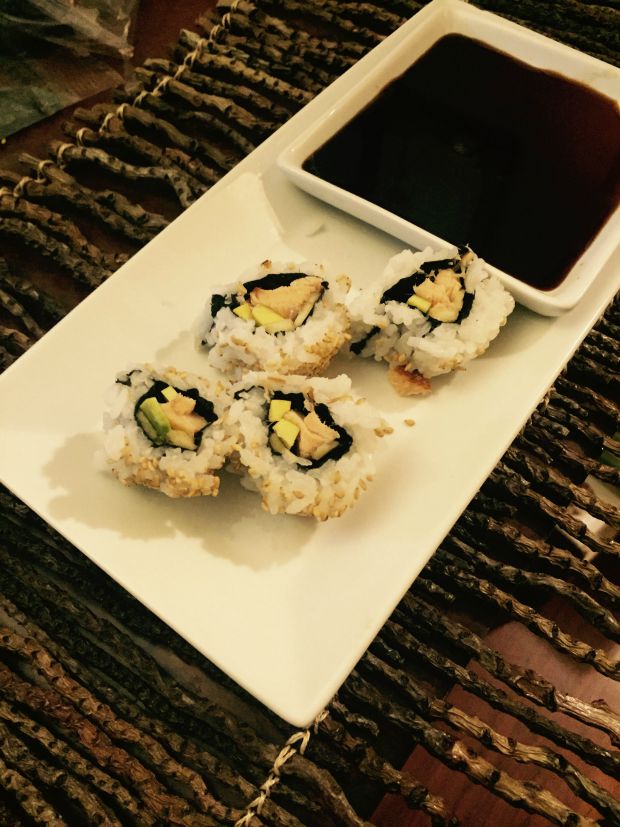
BUT…I did OK! I’d recommend after rolling – cutting the rolls on a flat surface like a cutting board. I cut mine on a raised edge plate.
Step 5
Make more sushi. This time around, I had my previous watchers and taste testers get involved. I traded out the saran wrap around the rolling mat for a zip close plastic bag. This was a better option, as the plastic didn’t roll off and scrunch up while “rolling”.
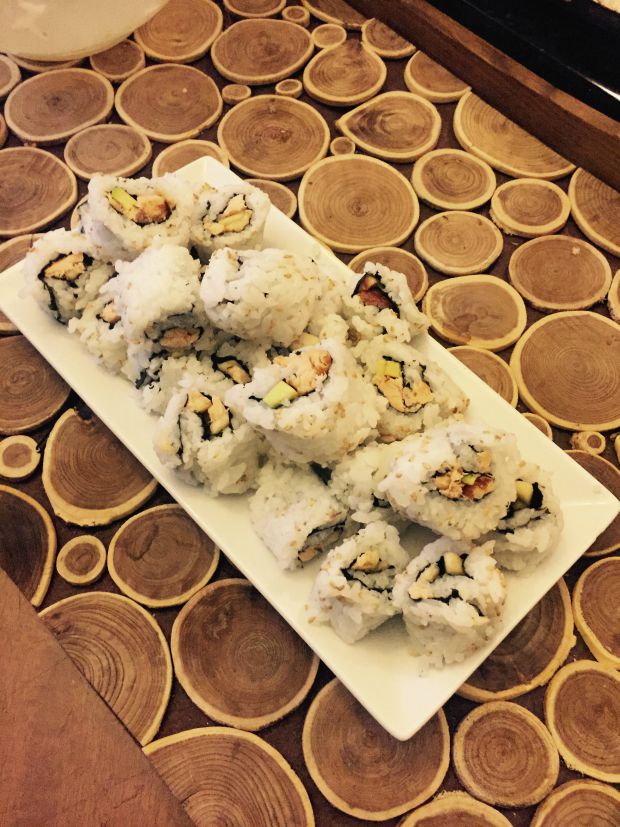
Below are everyone’s sushi creations after we’ve eaten some and with plenty of rice and nori left over.
Conclusion:
Taking pictures while cooking was harder than I expected, but I’m sure I would’ve moved faster had I not been playing chef and photographer. I had fun with this kit and it made those around me want to get involved (with cooking *not helping document, unfortunately). Everyone tested their sushi making skills and there were still rice and nori left over. I missed on the packaging where it says “makes 48 rolls”, so I was pretty stoked when I saw how much sushi we had made without using all of the ingredients.

1 Comment
We need to have a sushi party!!!! Looks so good!!!!