
Research
Years ago, I came across Wild Fermentation, a book by Sandor Ellix Katz that turned me and millions of others onto the idea of home fermentation. I don’t remember how I came across it, or why I bought it. But I read the first few chapters and became enthralled with the IDEA of fermenting.
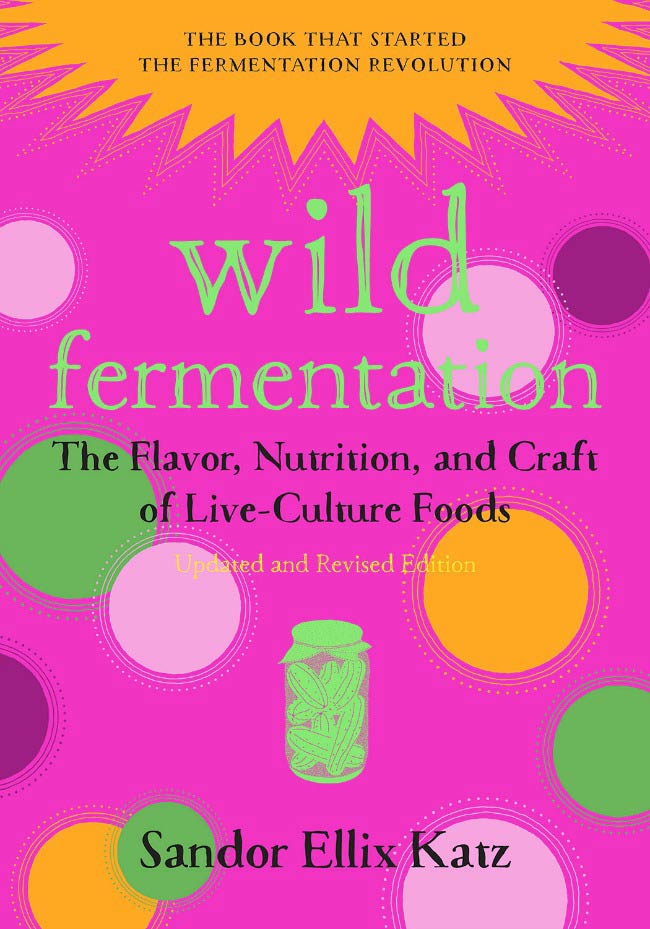
The book, published in 2003, made Katz a fermentation rockstar. (I’m not kidding, he really is.) As for myself, as I read, I was all ready to leave Brooklyn and move to the author’s organic farm commune in Tennesee to begin my new, fermention-centric lifestyle. Because I liked the IDEA.
I successfully made delicious yogurt a few times. And I’ve made a lot of bread, though not sourdough bread.
But despite feeling totally gung-ho, fermentationally speaking, that’s as far as I went. Katz made a passionate, informed case for probiotics (and this was back in 2003, before it was a thing). Almost all store-bought sauerkraut, he said, is pasteurized, which kills the probiotics.
I wanted to make my own sauerkraut and achieve Total Gut Health. But I looked into buying a stoneware crock with a weight (to weigh the cabbage down), and for a beginner, they seemed rather pricey and heavy. I didn’t feel it was wise to commit to something like that without knowing I’d use it more than once.*
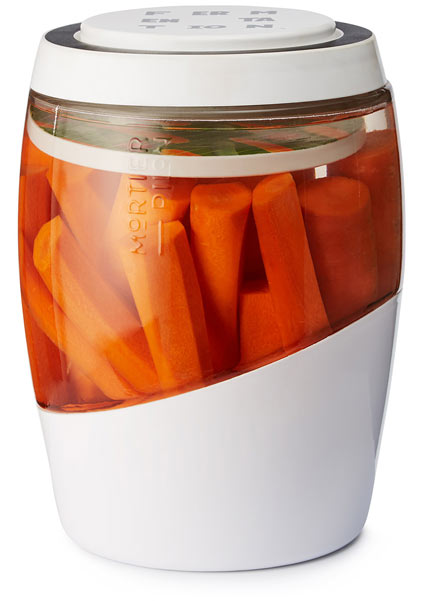
And I got stuck there. For years. Until I saw our DIY Fermentation Crock.
Hypothesis
This was exactly what I needed, but it hadn’t existed before now. A lighter, less expensive jar that, even if fermenting didn’t turn out to be my bag, could be used for other purposes, like storing homemade stock in the fridge. I liked that it was mostly transparent, too, so I could see what was going on. I needed one!
Experiment
As luck or fate would have it, a new, thoroughly revised version of Wild Fermentation was published right around the time UncommonGoods started stocking our newfangled crock. So I got both of them. I read the revised first chapters of Katz’s book and got pumped again. And I finally got to it. Eventually.
I decided to try making fruit kimchi, which I hadn’t even realized existed until I read about it in the new version of the book. (It’s there in the old version, but I’d never noticed it.) I’m a fan of Southeast Asian food, which famously blends sweet, sour, salty and hot flavors together in wonderful balance. Fruit kimchi promised a somewhat similar flavor cavalcade.
Katz emphasizes how easy and natural fermenting is, but for whatever reason, I was intimidated, and kept putting off actually making my kimchi. At long last, I moved from the idea stage to actually doing it. And Katz was, of course, right: it’s easy.
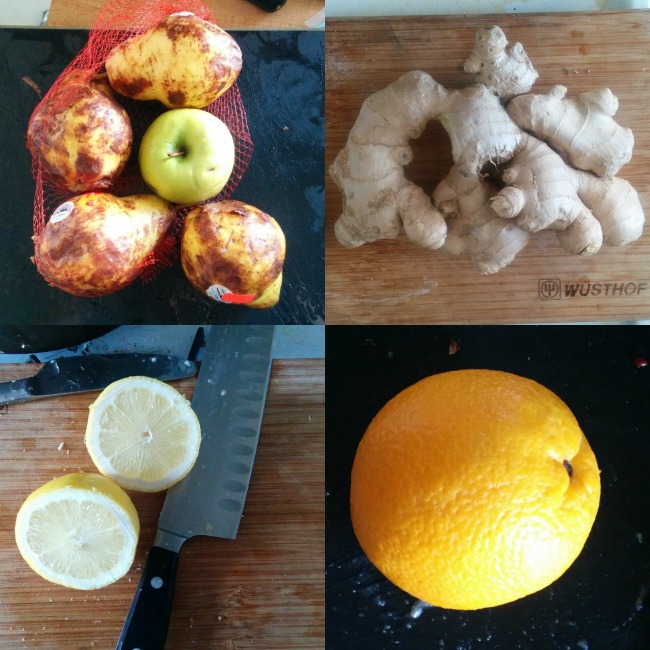
I decided to use vegetables and fruits I had on hand: red cabbage, carrots, an orange, a Granny Smith apple, some bruised pears and some red onions. I always have fresh ginger and lemons around…

but I had to go shopping for three ingredients: sea salt (in more quantity than I already had at home), rice flour, and a Korean chili powder called “gochugaru,” which I’d never heard of. New York City has lots of Asian food stores, so it was easy to find, but both are available online, too.
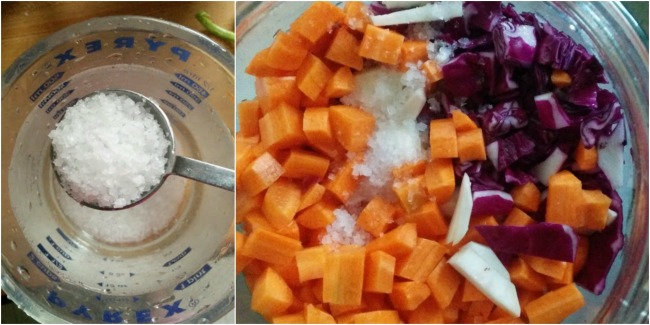
To make kimchi of any kind, you coarsely chop the vegetables, make a strong brine of sea salt and water, and soak them in it for a few hours or overnight…
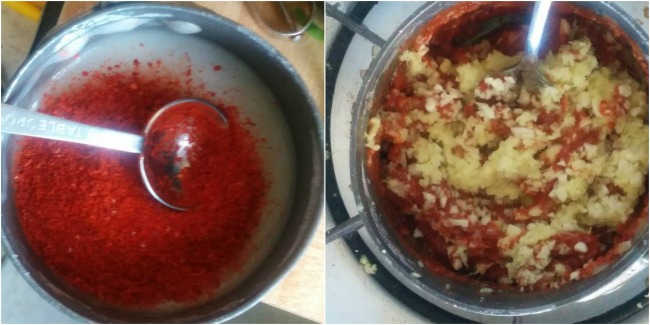
make a paste with the chili powder, rice flour and water; make the spices and aromatics into a paste too, and and stir them together…

drain the produce, add the chopped fruit (if you’re making fruit kimchi), and mix up the spice and chili pastes with the brined, drained produce…
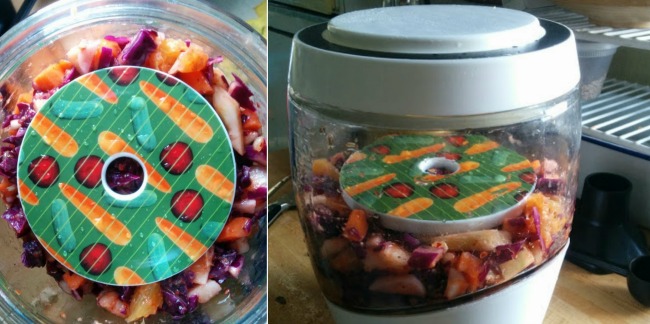
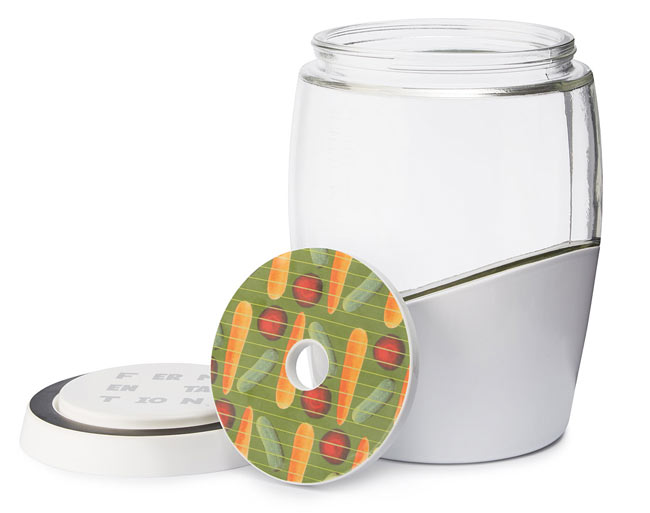
put the mixture into a fermenting jar, packing it down before you put the ceramic weight (included with this kit) on top, and put the specially designed fermenting lid on top. The crock instructions say to put a whole cabbage leaf on top of the produce before adding the weight, to prevent oxygen from getting in – but I had already chopped up all my cabbage by the time I read that. It ended up working anyway.
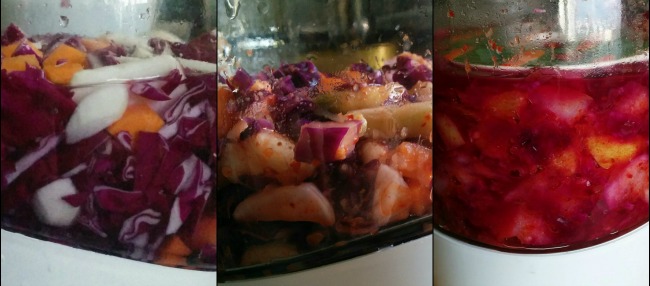
1) Brining, 2) after 1 day of fermenting, 3) after 5 days of fermenting.
Then, you… do nothing. You just wait. Go, little probiotic microorganisms, go! Above, you can see my kimchi in three different phases: brining, fermented for one day, and fermented for 5 or 6 days. The cabbage turned it a beautiful shade of pink. All the ingredients there had melded together beautifully.
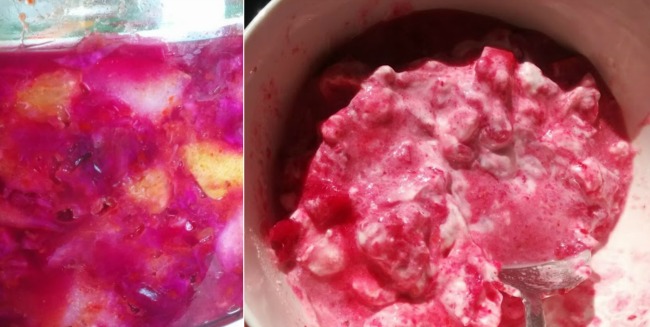
I had to show you the finished kimchi in the crock again (on the left) because it’s so pretty. On the right, it’s mixed with some yogurt.
Conclusion
I paid attention too late to the part in the recipe where Katz says not to ferment fruit kimchi for very long, because the sweet will all get converted to sour. I waited a couple of days too long to take mine out of the jar – but it was fine. Next time, I’ll know. But for now, I have delicious, ready-to-eat, super-healthy vegetables that are great mixed with yogurt (on the right) and will last in the refrigerator for a very, very long time.
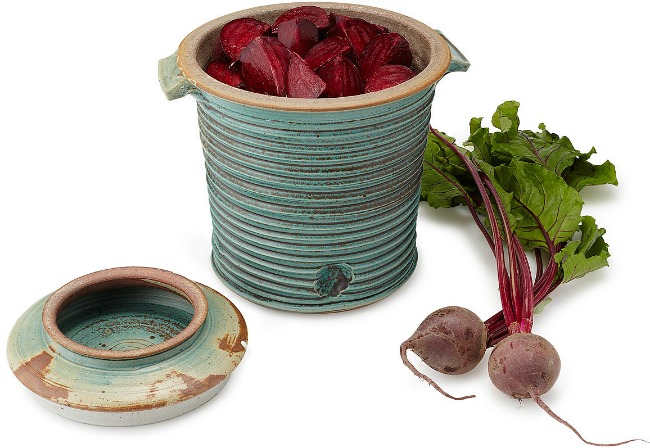
*(We have a gorgeous stoneware fermenting crock at UG that I now feel ready to commit to.)

1 Comment
That’s a cool crock! Once you start fermenting at home, it gets a little addictive, so be warned! You start to view food in terms of “can I ferment that?” 🙂