
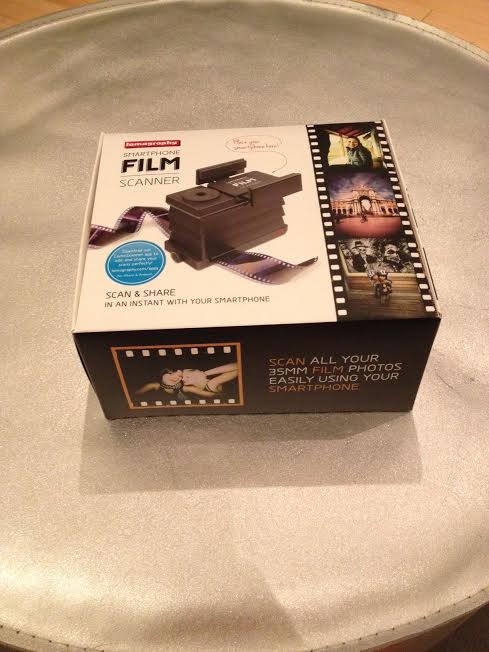
Product: Smartphone Film Scanner
Research:
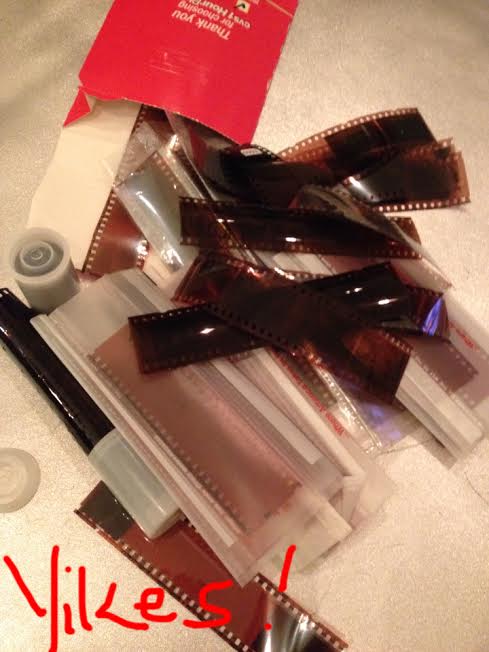
I take pictures. Lots and lots of pictures. I own approximately seven cameras. While most of us now have a camera in our pockets, along with our bank books, train schedules, maps, concert tickets and everything else smartphones have condensed into portability, I still appreciate photographic film. I have appreciated it over the years to the tune of a box full of developed negative sleeves.
The Makerof the Smartphone Film Scanner, Lomography, has an awesome reputation for designing super-cool photography products that stimulate visual creativity (three of which I already own), so I was excited to test this one.
Hypothesis:
Using my Apple iPhone 4S, the Lomography Smartphone Film Scanner should provide me a way to preserve and use my developed negatives, and add these previously printed photos to my online digital albums.
Experiment:
Out of the box, the scanner seemed simple enough to assemble; there’s a small instruction manual that points out the key components of the scanner unit, including the stackers, the base, the clamps and the LomoKino Mask (which you must lift and remove, lest your initial scans will be 1/3 of their intended size).
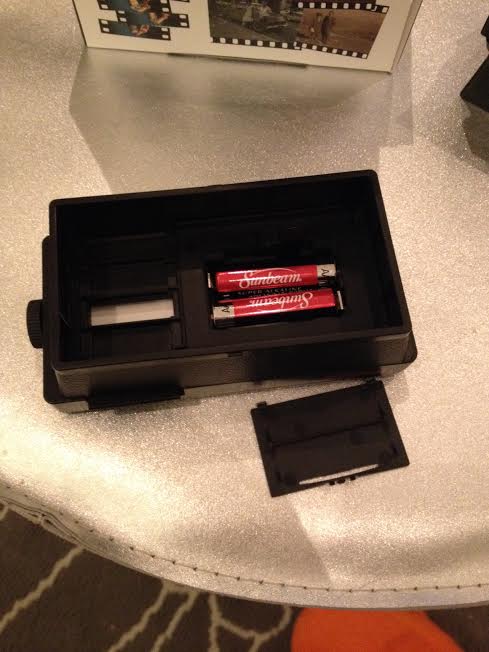
*The fine print: requires 2 AA batteries! (Pause. This launched a house-wide search for fresh batteries.) Battery door is a bit difficult to open; I needed to use a paper clip to lift.
The instructions noted to use only two stackers with an Apple iPhone 4/4S. (Stackers allow you to adjust the distance from your smartphone to the film to maximize the resolution.) So, I removed one stacker and assembled the unit.
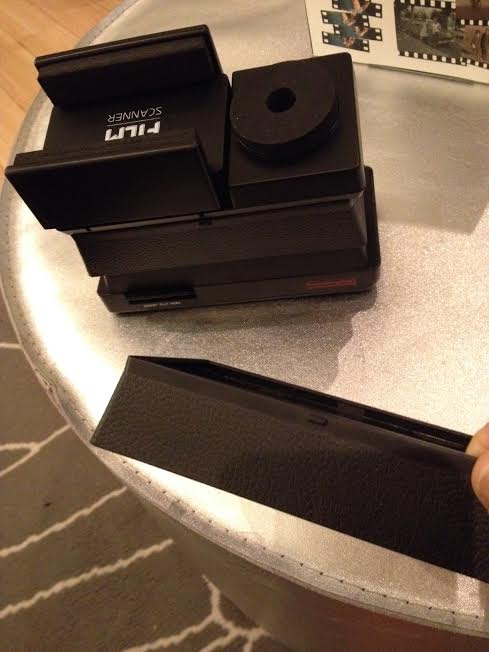
Next, the directions were to attach the smartphone to the scanner by placing the phone between the clamp winged platform on top of the scanner. Once the phone is camera-lens side down on this platform, you’re supposed to close the clamp wings to secure the phone onto the scanner, with the lens squarely on top of the scanning chamber. However, while the scanning chamber’s opening is centered, the phone’s camera lens is not; the iPhone camera lens is to the left of the phone. So, you have to manipulate the entire top of the platform to also move left or right, after you’ve clamped the phone in place. This was not immediately understandable from the instructions given. (In fact, I’m not even sure it’s understandable here; just know that you will need to maneuver the platform around a bit to get your phone directly over the scanning chamber, i.e. hole on top where the camera lens must be.)

I then inserted my negative strip using the film advancing wheel on the base of the unit and flipped the “on” switch to illuminate the light panel for viewing the negative. I enabled the camera feature on my iPhone, worked on centering the negative with the lens, and snapped a photo. The photo saved to my camera roll. Cool!

Now for scanning!
The instruction manual suggested visiting a site to get the app to scan.
I logged on to the website:
http://microsites.lomography.com/smartphone-scanner/#app
I initially downloaded the free LomoScanner App EVEN THOUGH there is a bit of a disclaimer on the page about technical issues that have been experienced by early users.
And sure enough, on both my iPhone and my boyfriend’s Android, the LomoScanner apps crashed. (Luckily it was easy to fix, but I decided not to try the app again.)
Returning to the drawing board, I download one of the other many suggestions for apps that were given on the Lomography site. (Not all of them were free, ranging from .99 to $4.99.) The Photoshop Express app (by Adobe) is FREE, and took seconds to download.
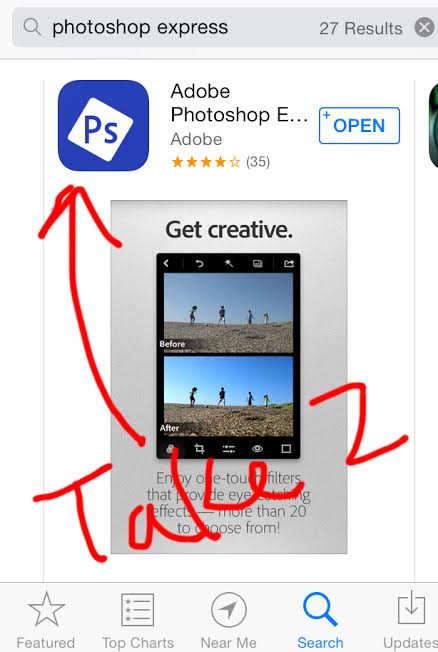
Nothing to sign into or request to trade your email address for access, the PS Express app simply offered the choice of “take a picture” or “open from camera roll” upon opening. I chose to access my camera roll, where I selected the picture I previously snapped of the negative.
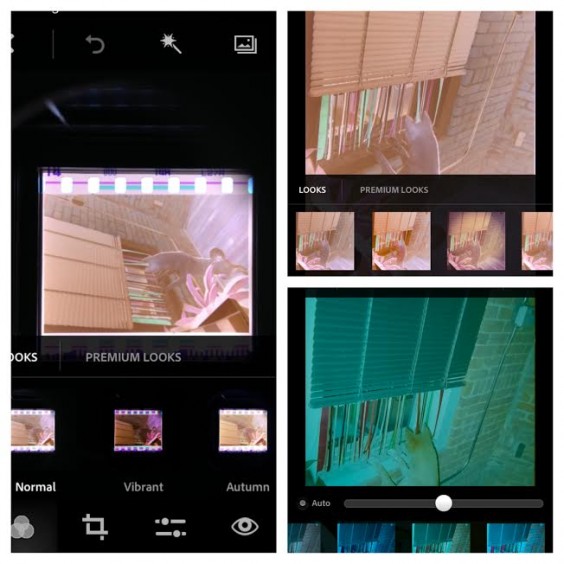
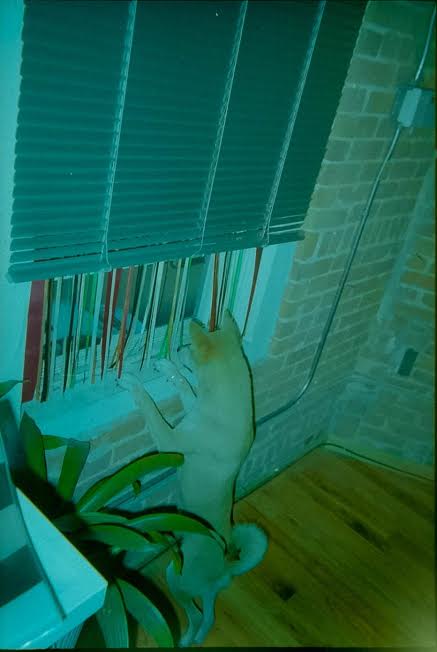
Once the photo was chosen, it was opened in a dashboard, where all the scan edits take place. First, I chose to crop the image, to rid the photo of the notched side framing. I also rotated it into a vertical portrait. Next, I chose “invert,” which essentially makes a negative out of the negative, “inverting” the original image. Since I started with a negative (the absence of color), the inversion actually deposits color. The result, in this case, was a color photo with a bluish tint. Using the brightness and contrast tools, I “warmed” up the photo, adjusting the tint, vibrance, highlights and other varying degrees of sharpness and clarity to improve the photo quality. But, alas, for some reason, my beloved “red” shiba inu, Kobe, remained blue in the photos. Below is the best I could get. I saved it to my camera roll , but it looks like there’s more I can do with photos in the future to get different results. (Check out this video for some ideas.) Some more experimenting is required!

Conclusion:
Overall, what was produced by the LomoScanner wasn’t exactly what I was expecting–especially after the process of assembling everything and downloading apps, editing, etc., but it does beat my throwback Thursday (#tbt) habit of taking pictures of photographs (which result in a slightly blurry, glassy-eyed view). As with all Lomography products, the LomoScanner has a loyal, even cult-like fan base, and the Lomographic community even offers tutorials, classes and online support to share tips and tricks. So, if you have the time or are into experimenting with photography, I’d say go for it.While the product is fun, if you just wanted a quick way to rid yourself of a box full of old negatives like I did, this might not be for you.